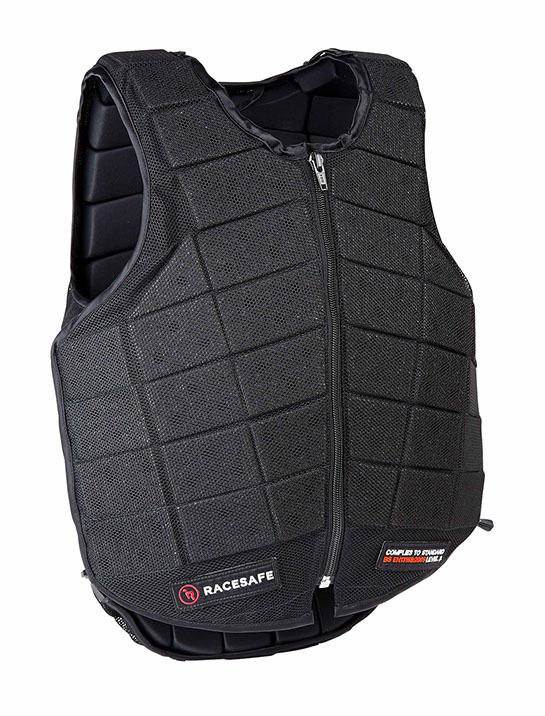
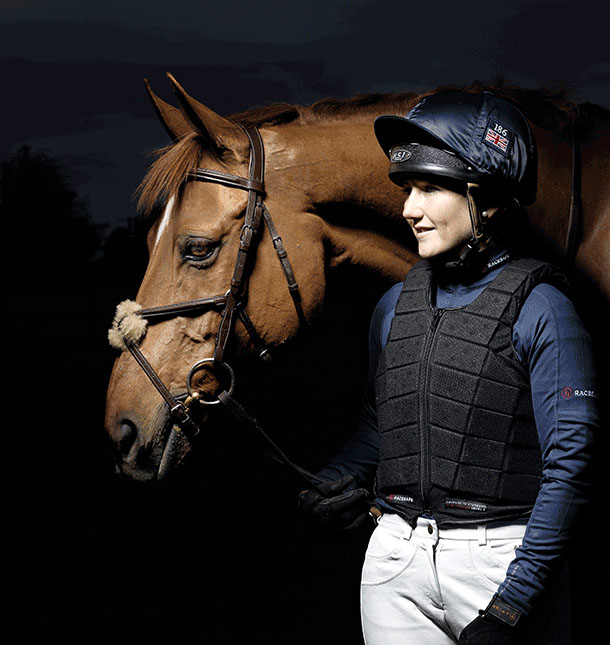
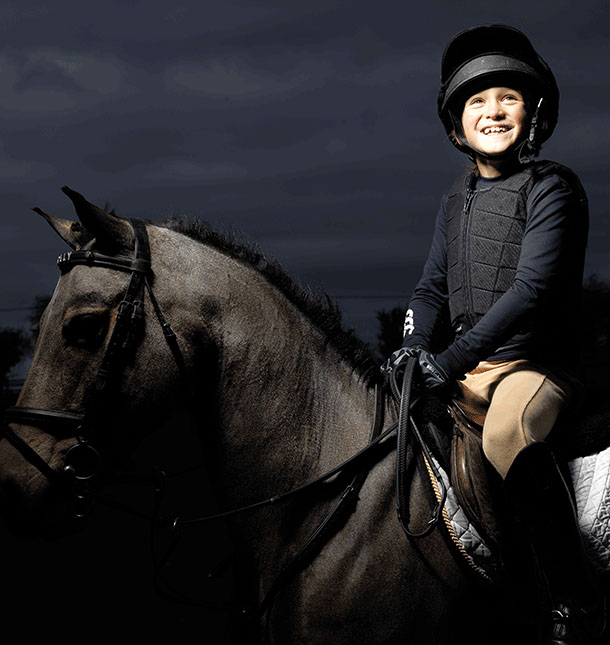
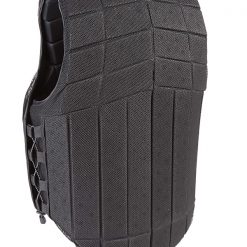
The PROVENT 3.0, launches a new generation of lightweight, flexible & breathable protection. Allowing riders of every level the freedom to perform, whilst ensuring the highest available level of protection.
Maximum Protection: Reassurance of the highest European & BETA 2009 Level 3 protection.
Ultra-Lightweight: Racesafe’s lightest ever Level 3 protection, developed using the latest foam combinations & technology.
Breathable: Heat generated is released via the perforated protection & breathable net outer.
Flexible: Protection that is designed to work with you. Comfort & freedom via the flex of independently hinged sections.
Improved Size Range: An extended & improved size range, combined with made to measure adjustments, offers everyone a perfect fit.
Elasticated Adjustment: New flexible self-adjustment that creates improved levels of movement & comfort.
Fitting Guide
Chest Fit
Step 1. The first step is to find the correct size that fits the chest & waist snuggly within the range of adjustment.
Step 2. Firstly, make sure it is just being fitted over a light layer.
Step 3. Take a chest measurement round the fullest part of the chest.
It is worth noting that particularly for Ladies, body protectors can fit larger than the chest range in the size chart suggests. As a rule, we suggest that if the chest measurement is within the bottom half of the range for a size indicated on the size chart, then drop down a size.
Step 4. Tighten the adjustment on either side, to reach a snug fit. If the minimum / tightest adjustment is reached and it’s still loose or looks bulky, try the size smaller.
It is also worth noting that there is a crossover between the sizes so a size smaller can often create a neater fit.
Body Length
Step 5. The next area to check is the body length, which relates to the over the shoulder measurement in the size chart.
For an indication of size this can be measured from the front (at the natural tipping point of the waist, below the ribs), then up over the shoulder and down to the level point on the back.
Step 6. As one of the major areas of protection, we need to ensure that the foam sections at the front are covering the bottom ribs.
FAQ’s
What if the body is too short & doesn’t provide that coverage?
• In some sizes there is a Tall Fit option which gives an extra row of blocks to the front.
• If there is not a Tall fit option available in that size or a full extra row would make the body too long, then a simple made to measure option available is to add a tapered / angled row to the front of any size.
What if the body is too long, restricting movement or causing the body protector to sit on the hips & push up off the shoulders?
• If this is the case, it can usually be easily solved by a simple shortening made to measure alteration, to taper the bottom row at the side & lift it off the rider’s hips.
Back
Step 1. The final area to check for fit is the back length.
For an indication of size- measure from your C7 vertebrae, the prominent one at the base of your neck, down to where it should finish. As a guide, when you are sat in the saddle there should approx. 3/4 fingers between the body protector and the seat.
Step 2. The correct length is a balance between offering lower back protection, but also a length that allows a full range of movement in the saddle without the body protector catching the cantle.
The exact length for each rider will depend on factors like the depth of their saddle seat & their discipline.
Conclusion
The resulting body protector should provide all the correct coverage for protection, be comfortable & flexible, allowing a full range of movement in the saddle.
Using the full size range & made to measure alterations where needed, we can achieve this fit for every rider, regardless of age, size or shape.

